Setting up a bird feeder camera is an exciting way to bring the wonders of nature directly to your screen, but getting birds to visit can sometimes take patience. By understanding the specific needs of local UK species and optimizing your garden environment, you can transform your camera into a hub of constant activity.
What You Need Before You Start
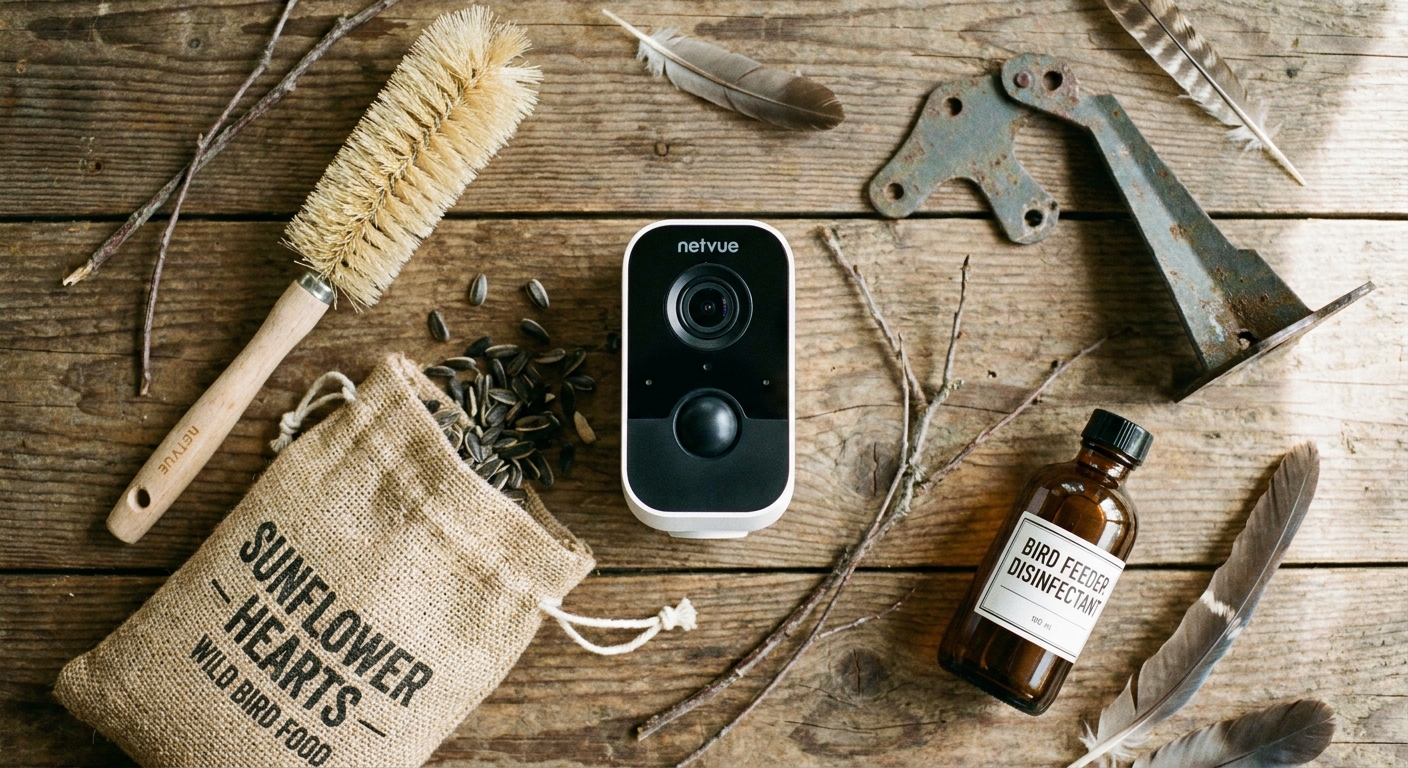
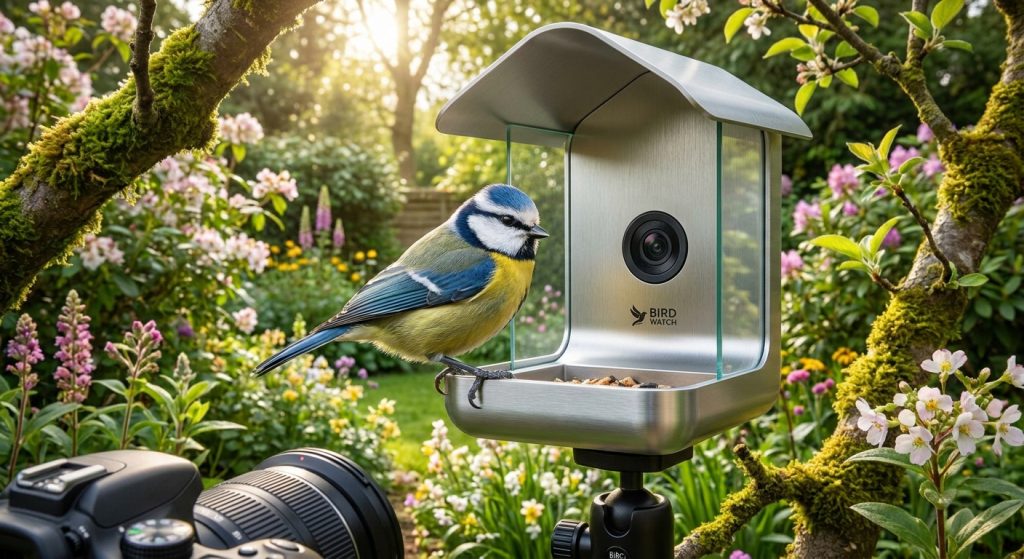
To successfully attract birds to your camera, you must first ensure your equipment is reliable and your supplies are high-quality. A premium bird feeder with a built-in camera, such as those found in our latest product reviews, provides the best clarity for capturing those elusive close-ups of blue tits and robins. You will also need a stable mounting pole or bracket that keeps the feeder steady during windy weather, as excessive movement can trigger false motion alerts and scare away timid visitors.
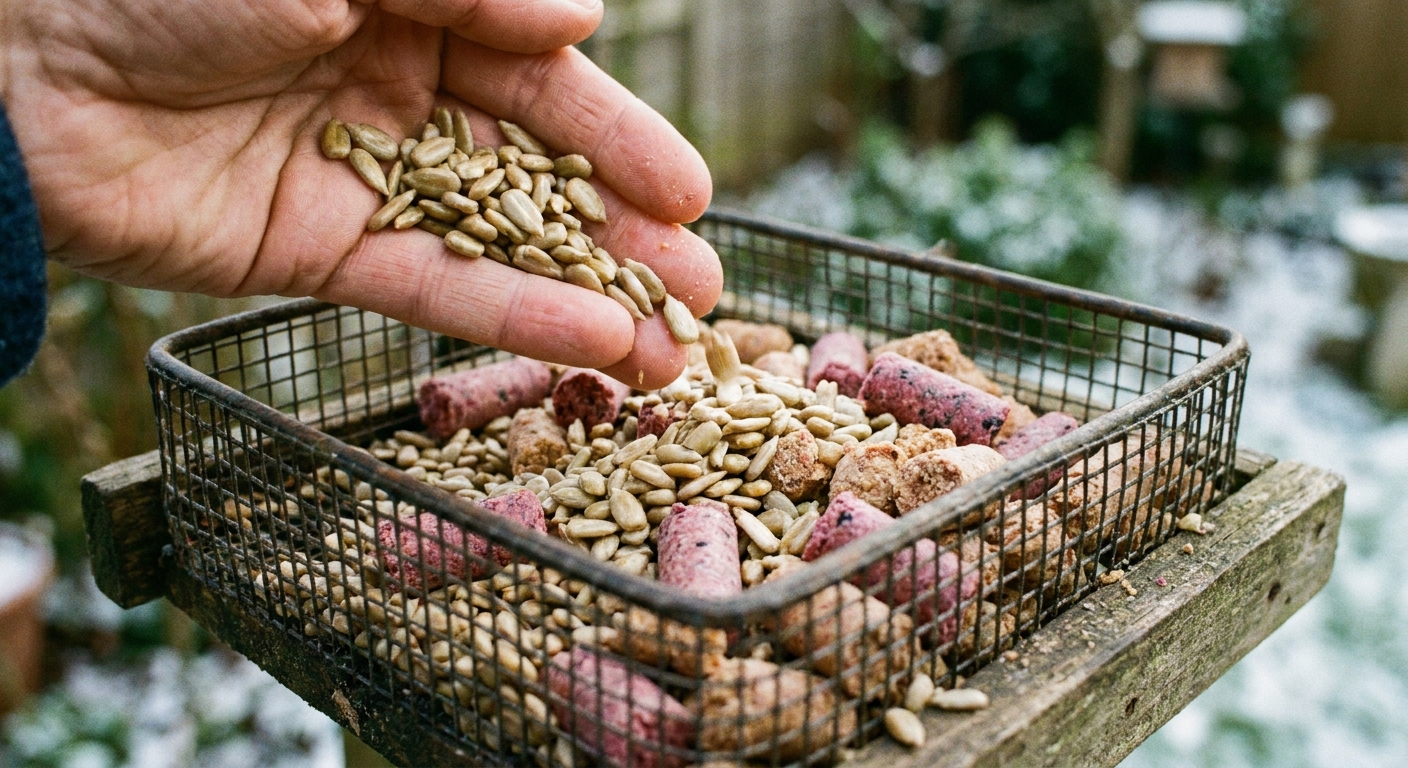
Beyond the hardware, your choice of bird food is the most critical factor in determining which species visit your garden. High-energy options like sunflower hearts, premium suet pellets, and nyjer seeds are universally appealing to common UK garden birds. Investing in a weather-resistant seed tray or hopper ensures that your food stays dry, preventing spoilage and keeping the birds coming back for more. Having a dedicated cleaning brush and non-toxic disinfectant on hand is also essential for maintaining hygiene, which is vital for the long-term health of your local bird population.
Step 1 – Strategic Placement for Maximum Visibility
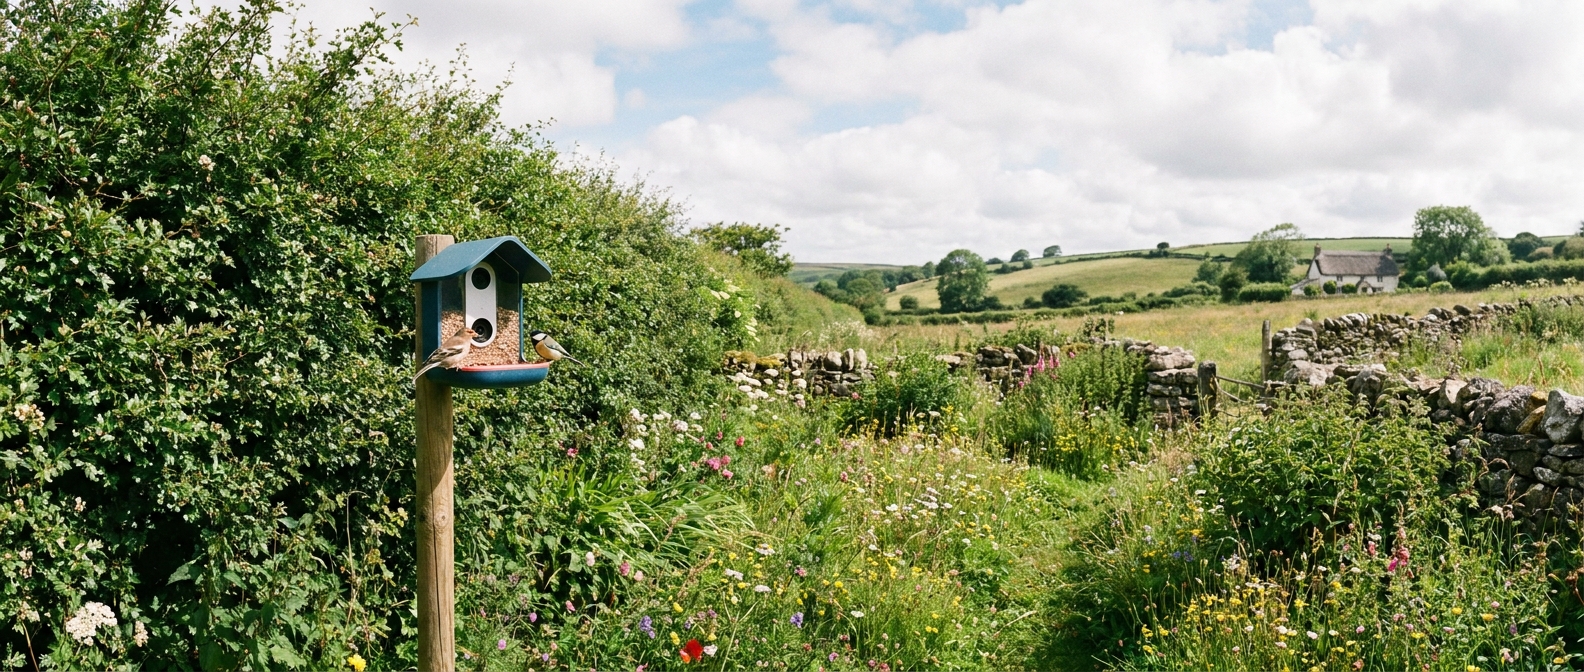
The location of your bird feeder camera is the single most important factor in attracting birds and ensuring high-quality footage. Birds prefer feeders that are situated near natural cover, such as hedges, shrubs, or trees, which provide a safe retreat from predators like sparrowhawks. However, you must avoid placing the feeder too close to dense foliage where cats might hide, as this will deter birds from approaching the camera lens.
Aim to position your feeder at a height that is comfortable for the birds while remaining within range of your home Wi-Fi signal. If the camera is too far from your router, you may experience connection drops that result in missed footage. Once you have found a spot that balances safety, visibility, and connectivity, leave the feeder in place for several days without moving it. Birds are naturally cautious creatures, and they need time to become accustomed to the new object in their environment before they feel confident enough to land on it.
Step 2 – Selecting the Right Food to Entice Visitors
Once your camera is mounted, you need to provide a menu that is simply too good for the local birds to ignore. Start by offering a variety of high-quality seeds, such as black oil sunflower seeds or premium suet, which are packed with the fats and proteins that birds need to thrive. If you want to attract specific species, consider tailoring your food choices; for example, goldfinches are particularly fond of nyjer seeds, while robins and blackbirds prefer mealworms or soft suet crumbles.
Consistency is the secret to building a loyal following of garden bird food guide birds. If you keep the feeder topped up regularly, the birds will learn that your garden is a reliable source of food and will return daily. Avoid filling the feeder to the brim if you are just starting out, as the food may go stale before it is eaten. Instead, provide smaller, fresh portions daily to ensure the birds are always greeted with high-quality, nutritious options that keep them coming back to the camera lens.
Step 3 – Creating a Welcoming Garden Environment
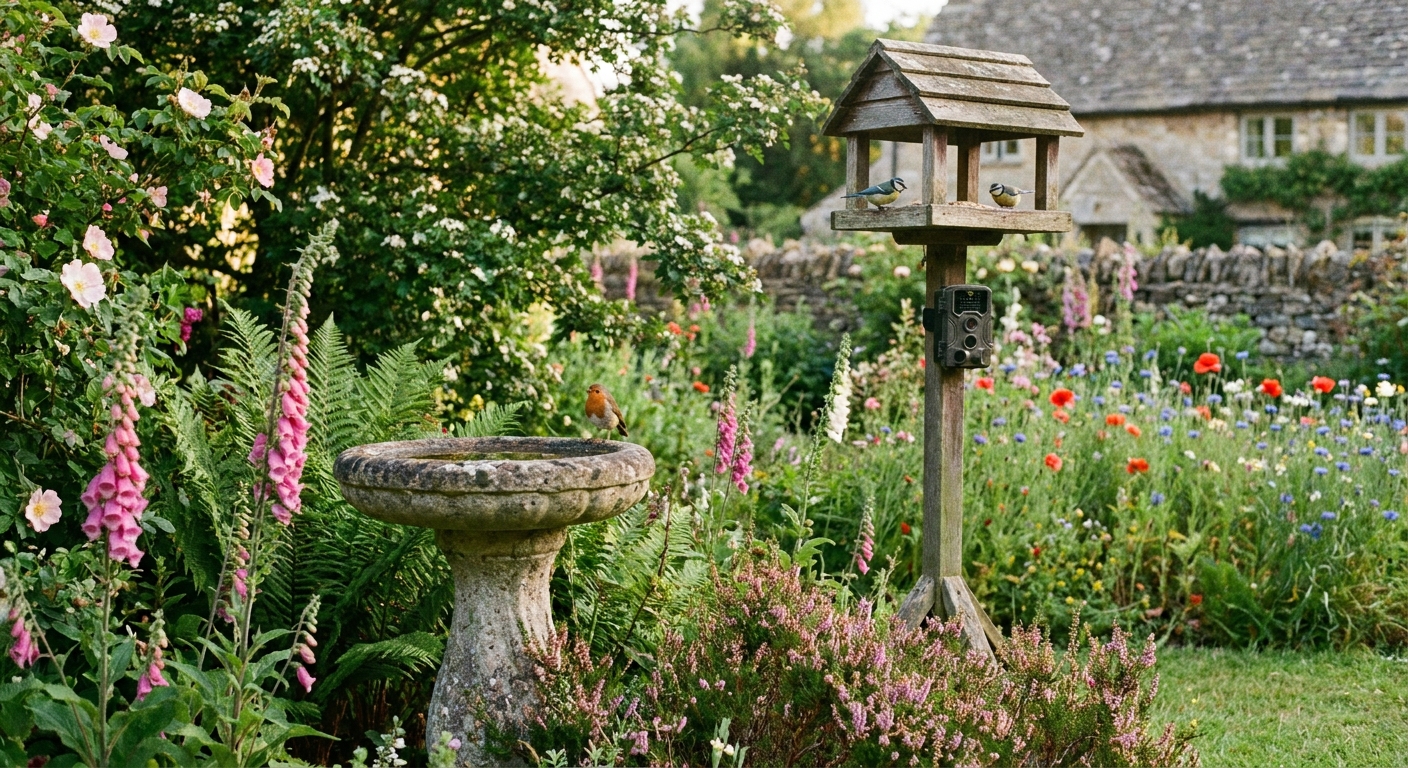
A bird feeder camera is only as good as the habitat surrounding it, so consider how you can make your entire garden more bird-friendly. Adding a bird bath nearby is a fantastic way to attract more visitors, as birds need fresh water for both drinking and bathing throughout the year. A shallow, clean water source will often draw in birds that might otherwise ignore a seed feeder, giving you more opportunities to capture unique footage.
You can also enhance your garden by planting native shrubs and flowers that provide natural food sources and nesting materials. Species like rowan, hawthorn, and ivy are excellent for attracting birds, and they create a more natural backdrop for your camera footage. By integrating your feeder into a wider ecosystem, you create a sanctuary that birds feel safe visiting, which will significantly increase the frequency and variety of species you see on your camera feed.
Common Problems and Fixes
One of the most common issues birdwatchers face is the presence of squirrels or larger, aggressive birds like starlings that dominate the feeder cleaning tips. If you find that squirrels are stealing all the food, consider installing a squirrel-proof baffle on the pole or switching to a feeder with a weight-sensitive mechanism. For aggressive birds, using a feeder with smaller perches can help smaller species like blue tits and coal tits feed in peace.
Another frequent problem is the camera lens becoming obscured by dirt, rain, or condensation. To fix this, regularly wipe the lens with a soft, lint-free cloth and ensure the protective housing is properly sealed against the elements. If you notice that birds are visiting the garden but avoiding the feeder, check for nearby sources of disturbance, such as loud noises or bright security lights that might be triggering the camera’s motion sensor at night.
Finally, if you are struggling with poor video quality or connectivity, check your Wi-Fi signal strength at the feeder location. You might need a signal booster or a mesh Wi-Fi system to ensure a stable connection. Sometimes, simply adjusting the angle of the camera can also improve the focus and lighting, ensuring that you get the sharpest possible images of your feathered visitors.
Tips for Better Results
To take your bird identification guidewatching to the next level, try to observe the peak feeding times in your garden, which are typically early morning and late afternoon. By checking your camera app during these windows, you are much more likely to catch the most activity. You can also experiment with different types of feeders, such as hanging suet cages or platform feeders, to see which designs your local birds prefer.
Don’t forget to keep a log of the species you spot, as this adds a rewarding layer of engagement to the hobby. Many enthusiasts enjoy sharing their best clips on social media or with local birding groups, which can provide helpful feedback and identification tips. Remember that patience is key; it may take a few weeks for birds to fully trust your new setup, but once they do, the rewards of watching them up close are well worth the effort.
Frequently Asked Questions
How long does it take for birds to find a new feeder?
It typically takes anywhere from a few days to two weeks for birds to discover and trust a new feeder. Be patient and keep the food fresh.
Should I clean my bird feeder?
Yes, cleaning your feeder every two weeks is essential to prevent the spread of disease among garden birds.
Why are birds not visiting my feeder?
Birds may be avoiding the feeder due to nearby predators, poor placement, or because they haven’t discovered it yet. Ensure it is in a safe, visible spot.
Attracting birds to your garden feeder camera is a rewarding journey that combines technology with a love for nature. By following these steps and maintaining a clean, well-stocked environment, you will soon be enjoying high-definition views of your local wildlife.