
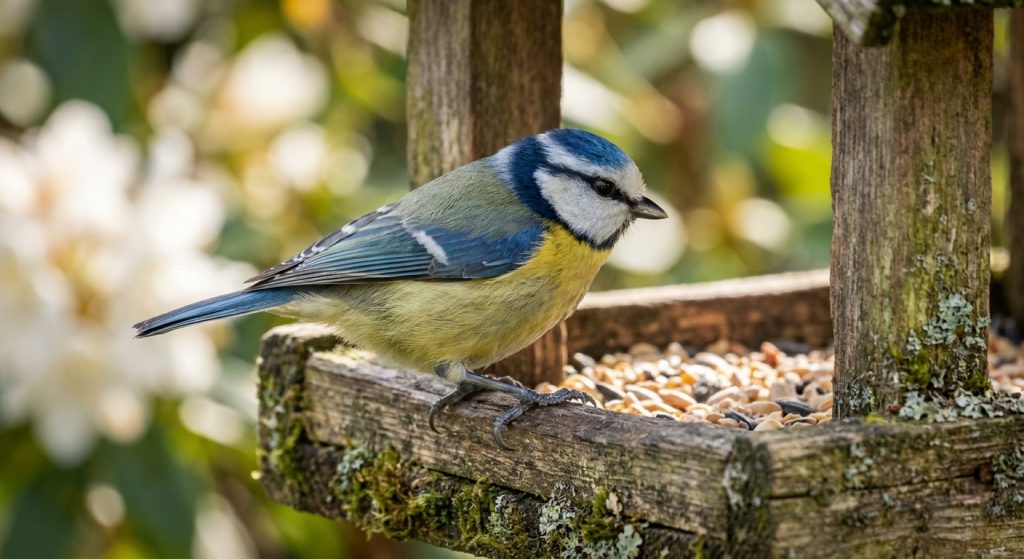
Capturing the perfect moment in your garden can be challenging, but your bird feeder camera offers a hidden treasure trove of potential still images. By learning how to extract and refine these frames, you can transform fleeting video clips into stunning wildlife portraits of your favourite garden visitors.
What You Need Before You Start
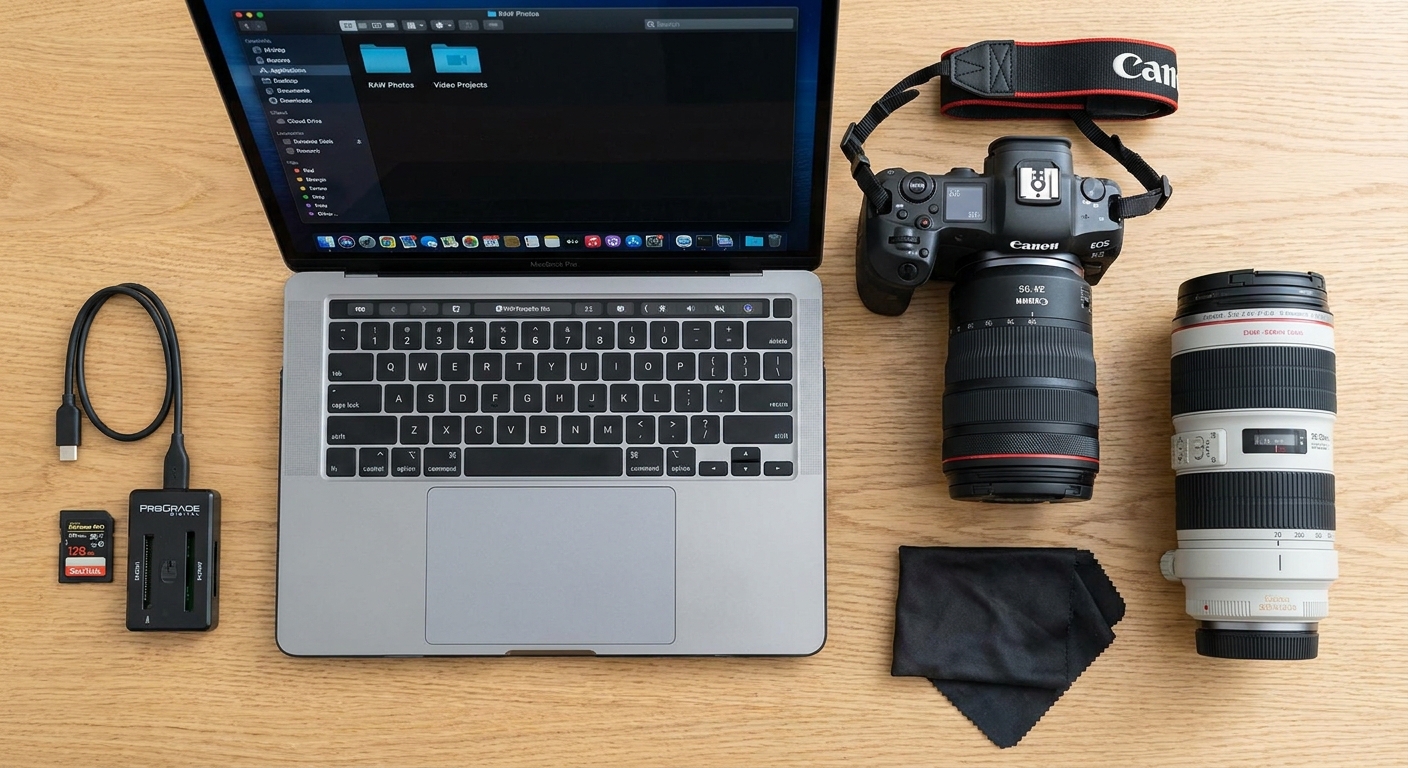
To begin your journey into extracting high-quality stills from your bird camera footage, you must first ensure you have the right digital environment. A reliable computer with a high-resolution display is essential for identifying the sharpest frames, as laptop screens often lack the colour accuracy needed for professional-looking results. You will also need robust video playback software that allows for frame-by-frame navigation, such as VLC Media Player or dedicated video editing suites like Adobe Premiere or DaVinci Resolve.
Beyond software, consider investing in a high-speed SD card reader to ensure your footage transfers quickly without data corruption. If you are using a smart bird feeder with a camera, ensure your mobile app or cloud storage is synced to your desktop to maintain the highest possible resolution. Having a clean, organised folder structure for your raw files will save you significant time when you begin the selection process, allowing you to focus entirely on the creative side of your photography.
Step 1 – Selecting the Perfect Frame
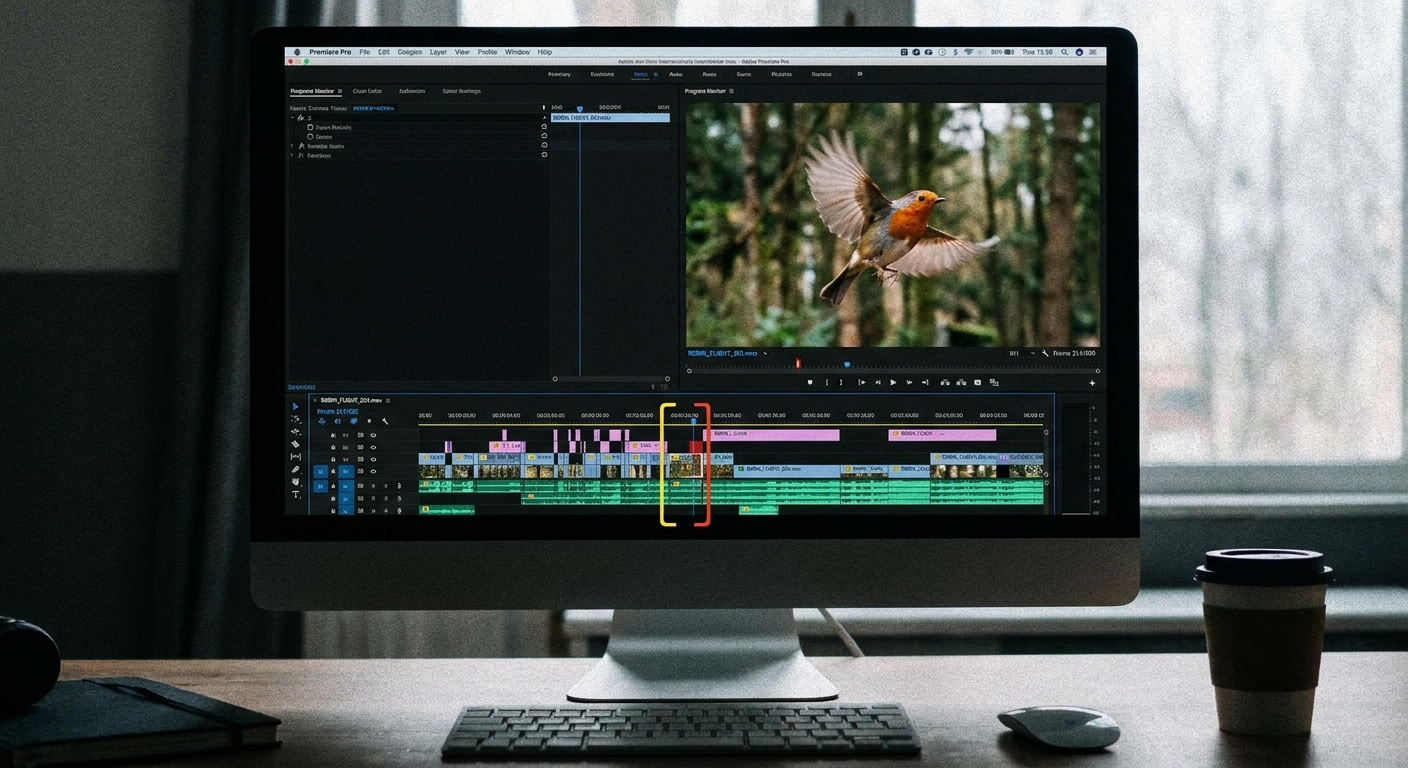
The secret to a great still shot lies in the selection process, as not every frame of video is created equal. When reviewing your bird camera footage, look for moments where the subject is sharp, well-lit, and exhibiting interesting behaviour, such as a blue tit mid-flight or a robin perched prominently on the feeder. Avoid frames where the bird is blurred due to rapid wing movement, as these rarely translate into high-quality stills unless you are intentionally aiming for a motion-blur effect.
Use the frame-by-frame navigation keys on your software to scrub through the video slowly, watching for the exact moment the bird’s eye is in focus. In wildlife photography, the eye is the most critical point of focus, and a sharp eye can salvage an otherwise imperfect composition. Take your time during this stage; it is often better to spend ten minutes finding the perfect frame than to spend an hour trying to edit a blurry one.
Step 2 – Optimising Your Export Settings
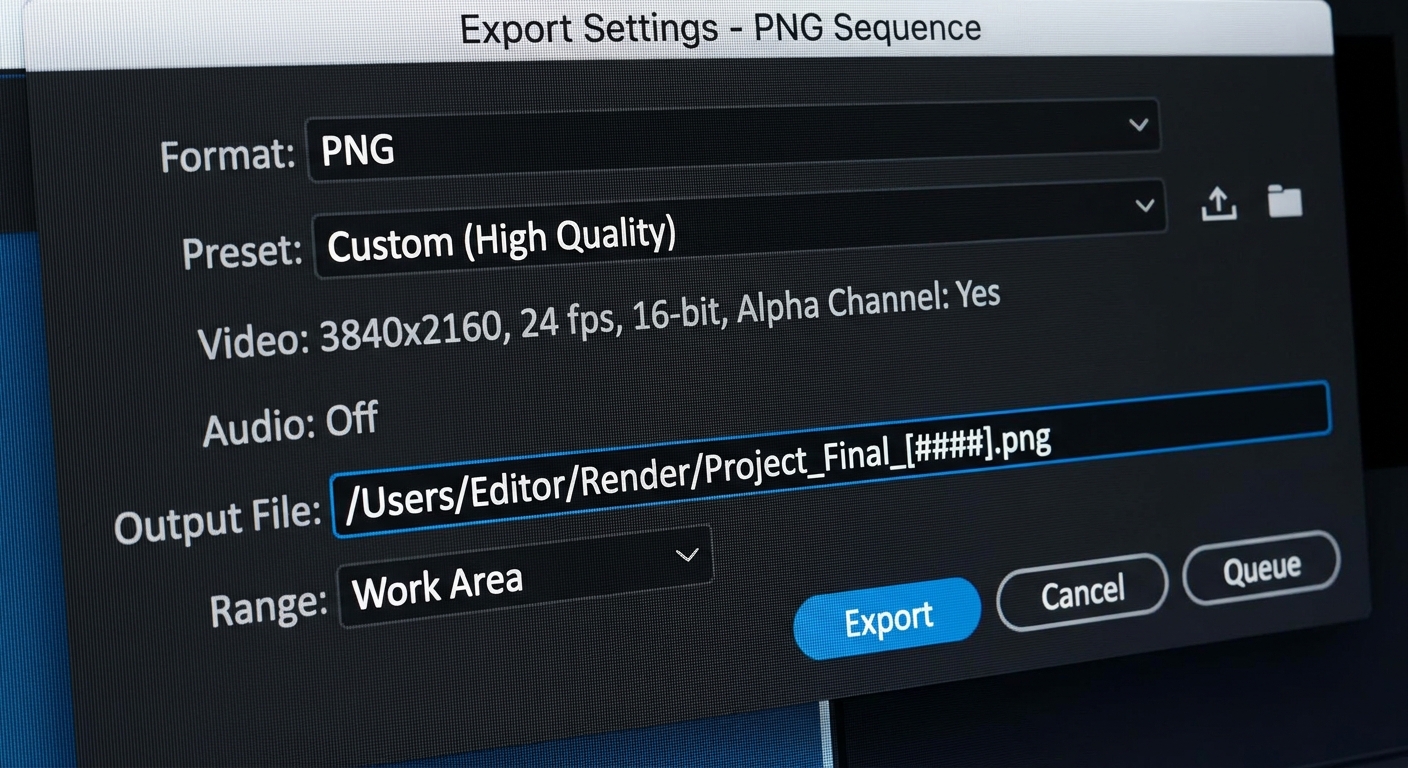
Once you have identified your ideal frame, you must export it using the highest quality settings available to preserve as much detail as possible. Many video players have a built-in snapshot feature, but for the best results, use the ‘Export Frame’ function in professional editing software to ensure you are capturing the full resolution of the source file. Always choose a lossless format like PNG or a high-quality JPEG with minimal compression to prevent the introduction of digital artefacts.
Pay close attention to the colour space and resolution settings during the export process to ensure they match your original footage. If your camera records in 4K, ensure your export settings are set to maintain that resolution rather than downscaling to 1080p. By maintaining the integrity of the original file, you provide yourself with a much better foundation for any subsequent post-processing or colour correction you might choose to perform later.
Step 3 – Enhancing Your Image in Post
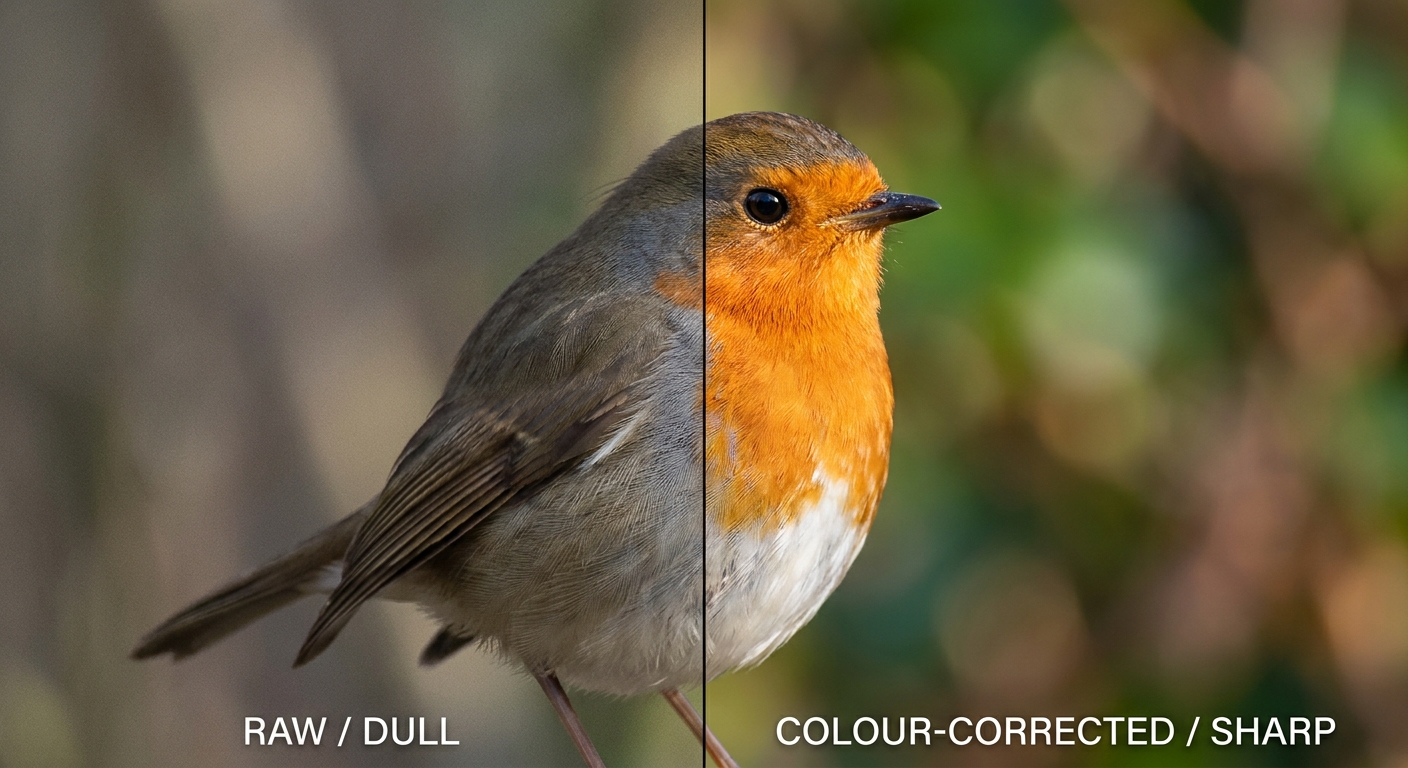
After exporting your still, a few subtle adjustments in photo editing software can elevate your image from a simple screenshot to a professional-looking photograph. Start by adjusting the exposure and contrast to make the colours pop, ensuring the feathers of your garden birds look vibrant and true to life. Use a sharpening tool sparingly, focusing specifically on the eye and the texture of the feathers, as over-sharpening can lead to an unnatural, grainy appearance.
Consider cropping the image to improve the composition, perhaps using the rule of thirds to place your subject in a more visually appealing position. Removing distracting background elements, such as messy feeder wires or out-of-focus garden clutter, can also help the viewer focus entirely on the bird. Remember that the goal is to enhance the natural beauty of the scene, not to create an artificial-looking composite, so keep your edits subtle and balanced.
Common Problems and Fixes
One of the most frequent issues when extracting stills is motion blur, which occurs when the shutter speed of the camera was too slow for the bird’s movement. While you cannot fully ‘fix’ a blurry image, you can often improve its appearance by converting it to black and white, which masks some of the softness and creates a more artistic, moody aesthetic. Alternatively, use AI-powered sharpening tools to recover some of the lost detail, though use these with caution to avoid creating digital noise.
Another common problem is poor lighting, which can leave your images looking flat or underexposed. You can fix this by increasing the shadows and highlights in your editing software, which helps to reveal hidden details in the bird’s plumage. If the image is too grainy due to low-light recording, apply a light noise reduction filter, but be careful not to smooth out the fine textures of the feathers in the process.
Finally, if your footage is low resolution, avoid printing the image at large sizes, as this will highlight the lack of detail. Instead, focus on sharing these images digitally on social media or in online birdwatching forums where smaller file sizes are perfectly acceptable. By understanding the limitations of your equipment, you can work within them to produce consistently pleasing results that capture the essence of your garden wildlife.
Tips for Better Results
To consistently capture better footage for your still shots, focus on the placement of your bird feeder in relation to natural light. positioning your bird feeder your camera so that the sun is behind you or to the side will ensure the birds are well-lit, providing the detail necessary for high-quality stills. Additionally, keep your camera lens clean; a simple wipe with a microfibre cloth before you start recording can make a massive difference in the clarity of your final images.
Another expert tip is to record in the highest frame rate your camera allows, as this provides more individual frames to choose from during the selection process. A higher frame rate effectively gives you more ‘chances’ to capture that perfect, sharp moment of action. By combining these practical habits with a patient approach to editing, you will find that your garden bird photography improves significantly over time, turning your backyard into a personal wildlife studio.
Frequently Asked Questions
Can I get professional quality photos from a standard bird feeder camera?
While bird feeder cameras are designed for monitoring rather than professional photography, you can achieve excellent results by selecting the sharpest frames and using basic editing techniques to enhance contrast and clarity.
What is the best software for extracting stills from video?
VLC Media Player is excellent for quick snapshots, while Adobe Premiere, DaVinci Resolve, or even free tools like CapCut offer more precise control for high-quality frame exports.
How do I fix blurry bird photos?
While you cannot fully fix motion blur, you can improve the look by converting the image to black and white or using AI-based sharpening tools to recover some detail.
Transforming your bird camera footage into stunning still images is a rewarding way to document the wildlife in your garden. By following these steps, you can capture the beauty of your local birds in a way that truly stands out. Start experimenting with your footage today and see what hidden gems you can uncover.