
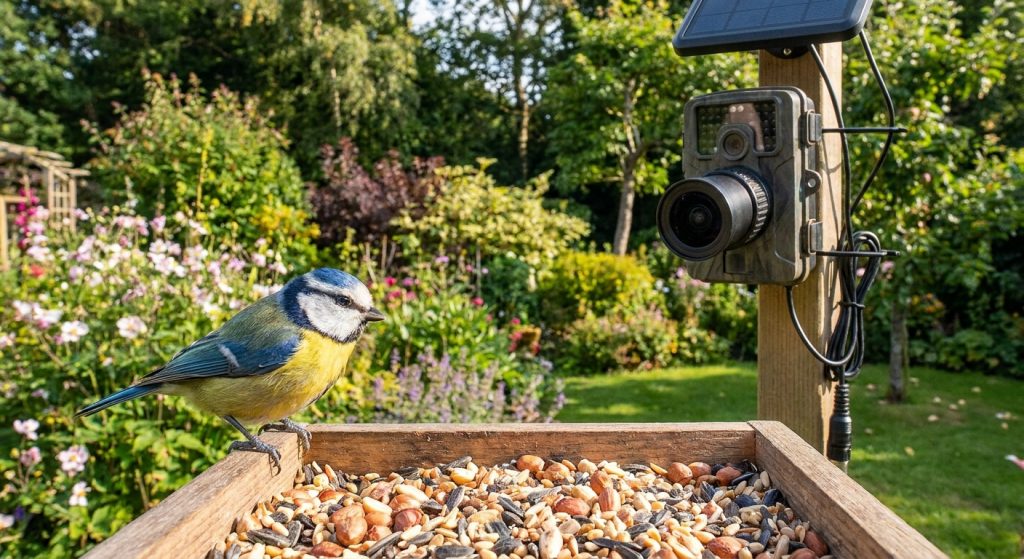
Capturing sharp, clear footage from your bird feeder camera transforms everyday birdwatching into a truly immersive experience. Whether you’re hoping to identify garden visitors like robins or goldfinches, or simply want to enjoy crisp images of your feathered friends, getting the best possible video is easier than you might think. This guide walks you through each step to ensure your footage is as vibrant and detailed as the birds themselves.
What You Need Before You Start
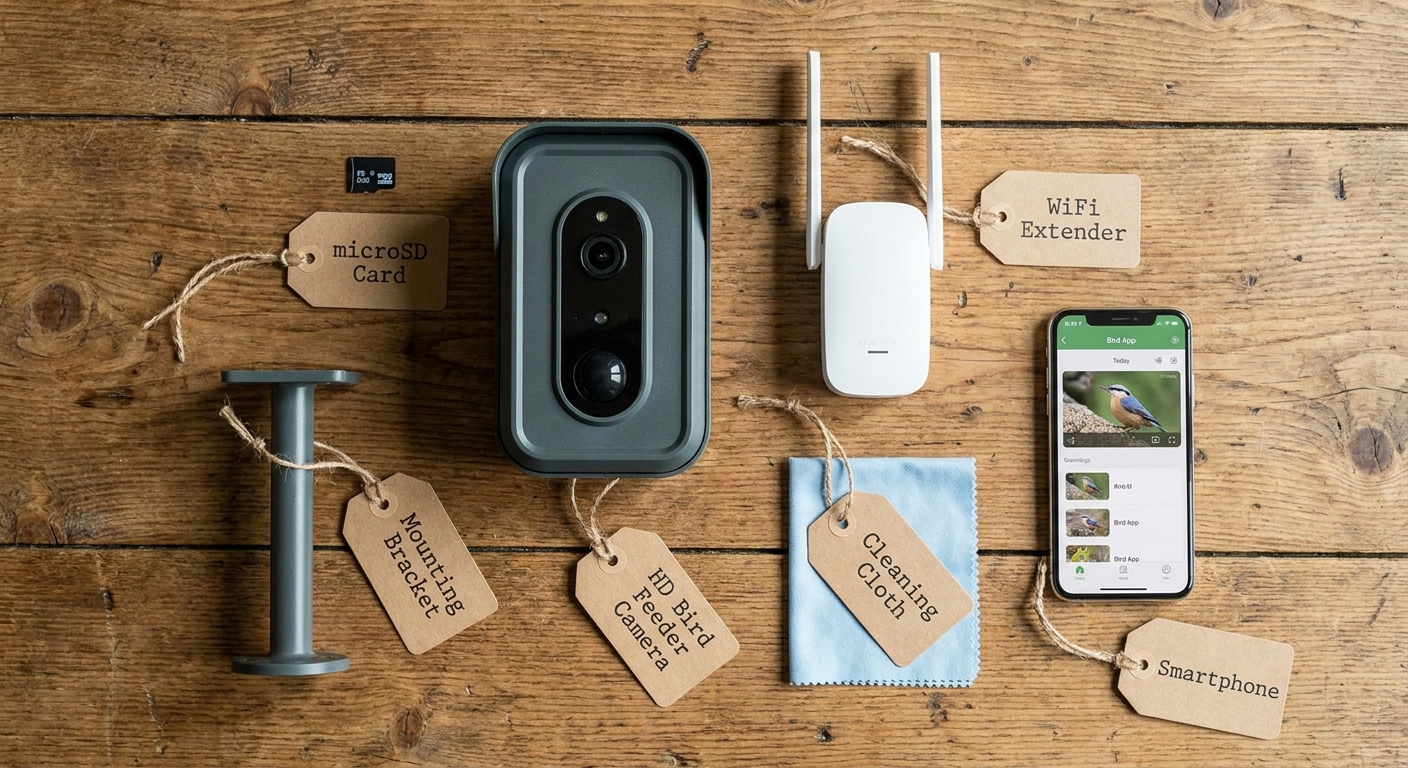
Before you begin setting up your bird feeder camera for the clearest possible footage, it’s important to gather the right tools and materials. At a minimum, you’ll need a reliable bird feeder camera—ideally one designed for outdoor use with HD or 4K resolution, night vision, and weatherproofing. Many UK birdwatchers favour models like the Green Feathers WiFi Bird Feeder Camera or the Bird Buddy, both of which offer crisp imaging and easy app integration. You’ll also require a sturdy bird feeder, preferably one with a clear view and minimal obstructions, as well as a mounting bracket or pole to secure your camera in the optimal position.
Other essentials include a microSD card with sufficient storage for continuous recording, a power source (such as a long-life battery pack or mains adapter), and a smartphone or tablet for monitoring footage. It’s wise to have basic cleaning supplies on hand, like a soft lens cloth and mild cleaning solution, to keep your camera lens spotless. If your camera connects via WiFi, ensure your garden has a strong, stable signal—consider a WiFi extender if needed. Having these items ready will streamline the process and help you avoid common pitfalls that can lead to blurry or unreliable footage.
Step 1 – Position Your Camera Correctly
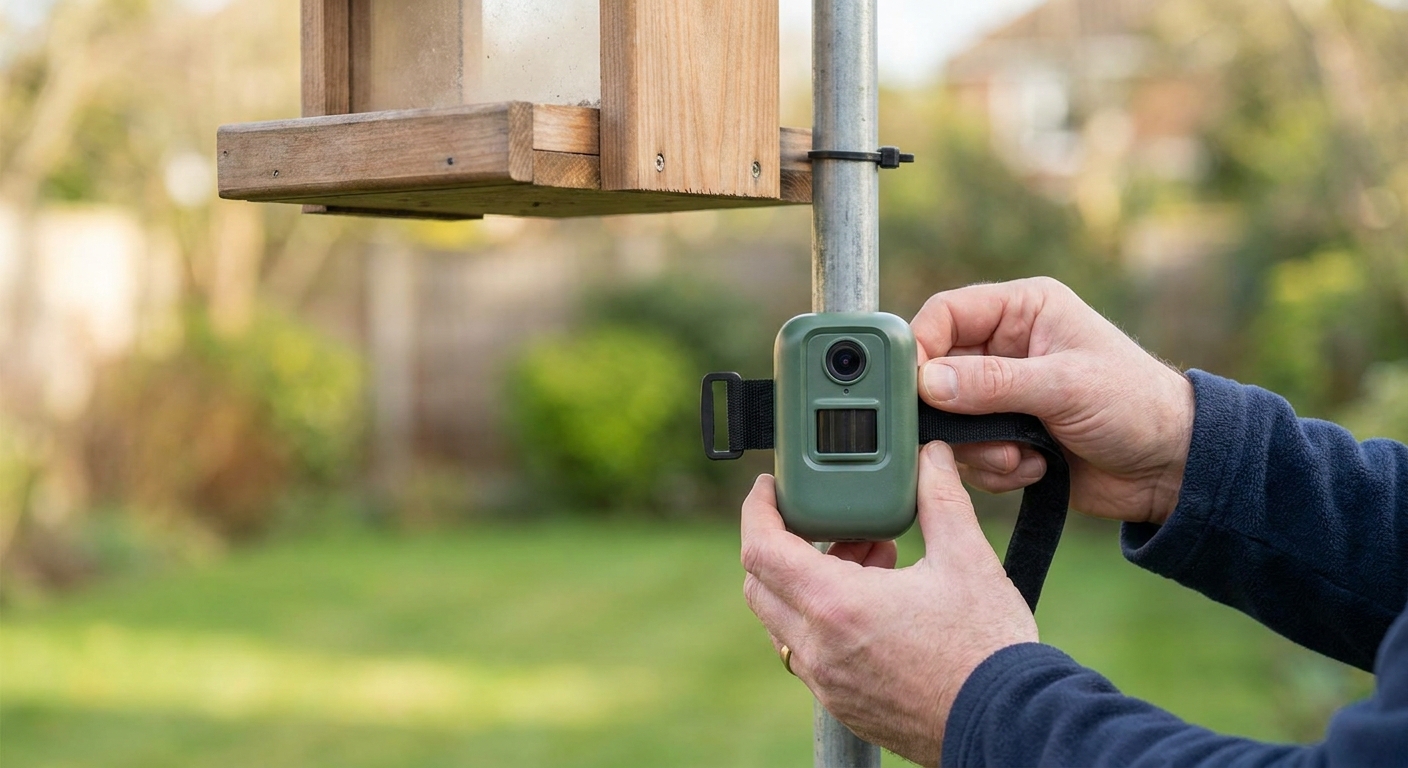
The first and most crucial step to achieving sharp footage is positioning your camera with care. Mount your camera so it faces the feeder directly, ideally at bird eye-level, to capture the most natural and engaging shots. Avoid placing the camera too close, as this can lead to focus issues and scare off shyer species like coal tits or goldfinches. A distance of 30–50cm from the feeder is generally ideal for most UK garden birds, allowing the camera’s autofocus to work effectively while still filling the frame with your subjects.
Be mindful of the background and lighting when choosing your camera’s location. Position the feeder and camera so that the background is uncluttered—foliage or a neutral fence works well, while busy backgrounds can distract from the birds. Avoid pointing the camera directly into strong sunlight, which can cause glare and silhouetting. If possible, orient the setup so that the camera faces north or east, reducing the risk of harsh backlighting during the brightest parts of the day. Take a few test shots and adjust until you achieve a balanced, well-lit scene with the feeder in sharp focus.
Step 2 – Optimise Your Camera Settings
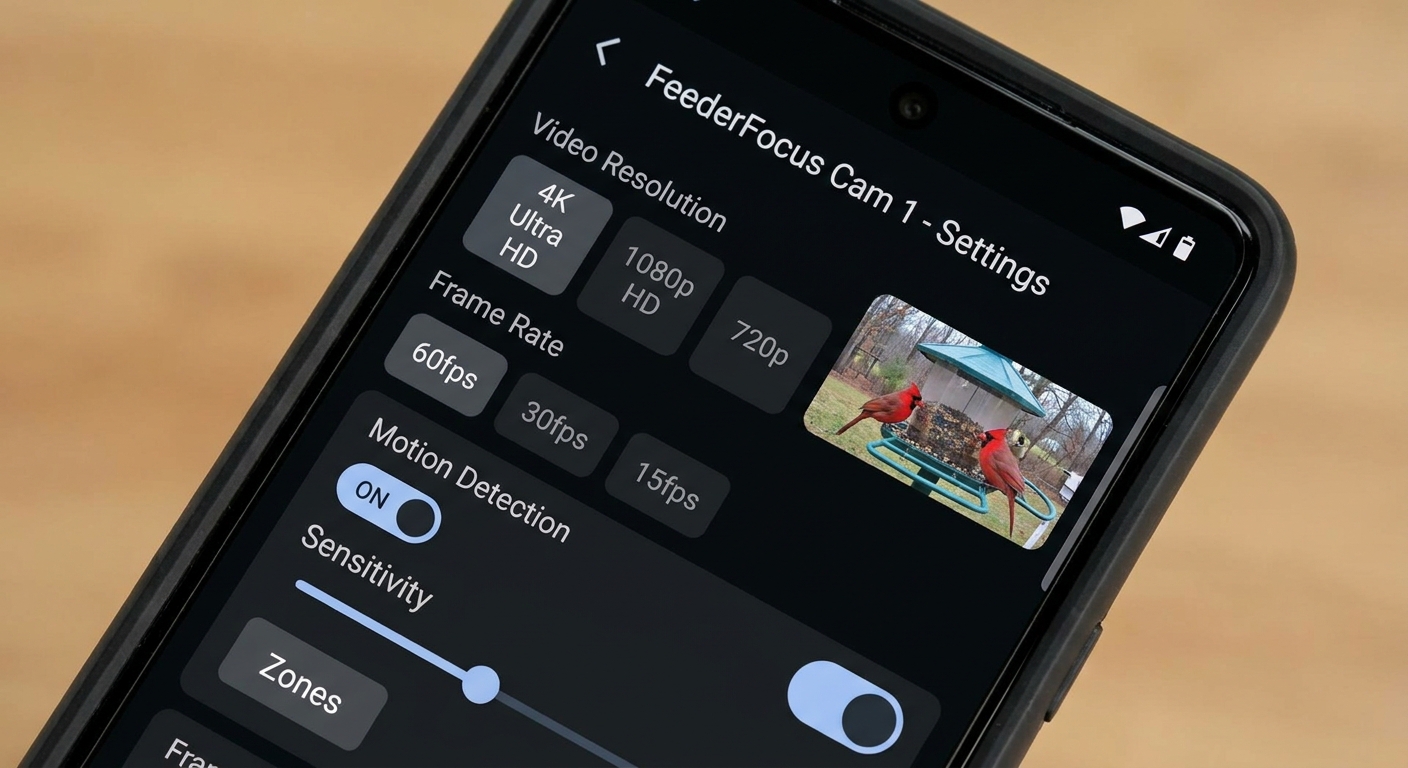
Once your camera is in place, fine-tuning its settings is essential for clear, detailed footage. Start by setting the resolution to the highest available—HD or 4K if supported. Higher resolution captures more detail, making it easier to identify birds like blue tits or starlings, even in fast motion. Adjust the frame rate to at least 25fps for smooth playback, especially if you hope to capture birds in flight or rapid feeding behaviour. Some cameras allow you to tweak sharpness, contrast, and exposure; experiment with these to find the best balance for your garden’s lighting conditions.
Pay special attention to focus settings. Many modern bird feeder cameras offer fixed-focus lenses optimised for a set distance, but if your model allows manual focus, use the live view mode on your app to fine-tune until the feeder is pin-sharp. Enable features like motion detection or scheduled recording to conserve storage and battery life. If your camera has night vision, check that the infrared LEDs do not reflect off the feeder surface, as this can cause glare at dusk or dawn. Regularly review sample footage to ensure settings remain optimal as lighting and weather change throughout the seasons.
Step 3 – Maintain Your Camera and Feeder
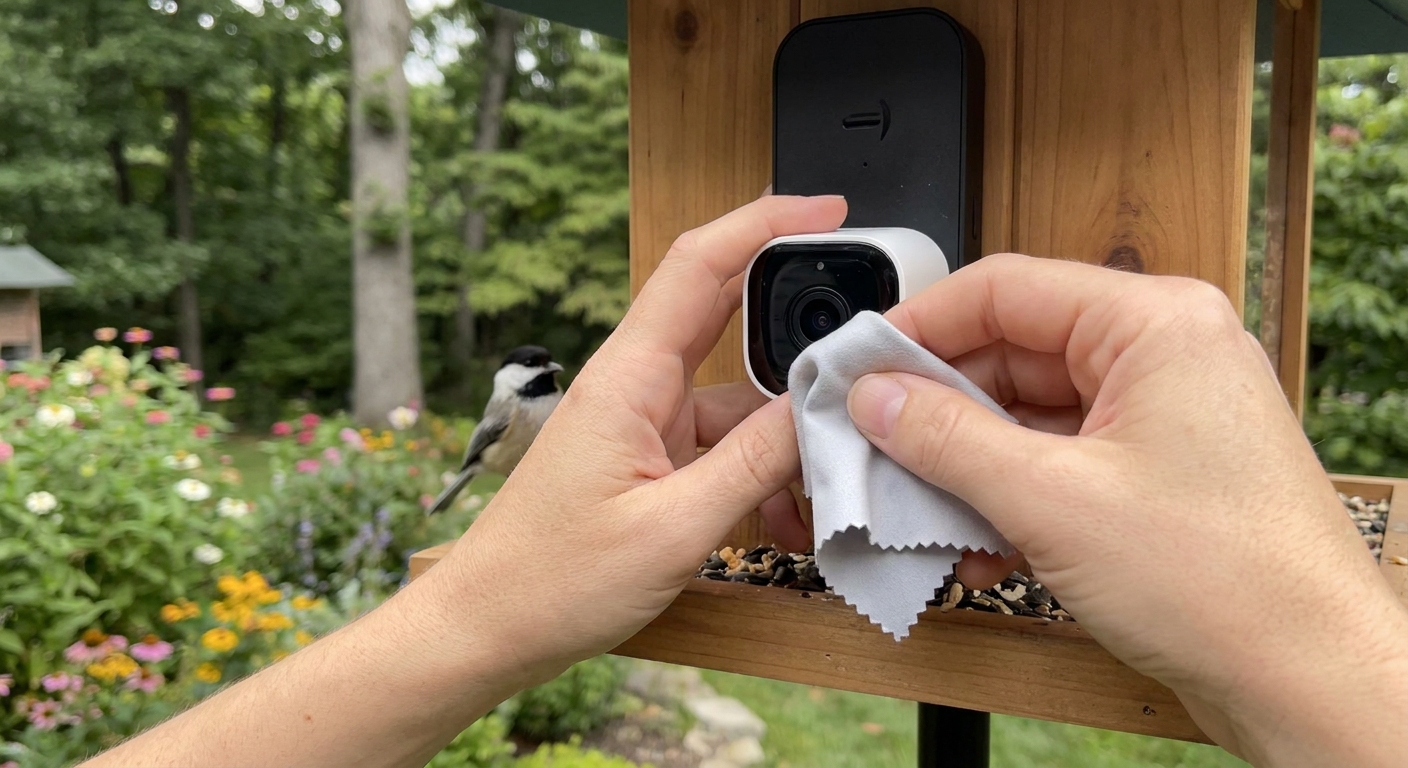
Consistent maintenance is key to preserving image quality over time. Outdoor cameras are exposed to dust, pollen, rain, and even curious birds, all of which can cloud the lens or obstruct the view. Make it a habit to gently clean the lens every week using a soft, lint-free cloth and a mild cleaning solution. Avoid harsh chemicals or abrasive materials, as these can scratch the lens and permanently degrade image clarity. If your camera housing accumulates moisture or dirt, wipe it down and check for any signs of water ingress or insect nests.
Don’t neglect the feeder itself—dirty or overfilled feeders can block the camera’s view and attract pests. Clean the feeder regularly and ensure it remains securely attached to its mount. Check that the camera’s mounting bracket is stable and has not shifted due to wind or wildlife activity. If you notice condensation inside the camera housing, try adding a silica gel pack to absorb excess moisture. By building these simple checks into your routine, you’ll ensure your footage remains sharp and your camera continues to capture the best of your garden visitors.
Common Problems and Fixes
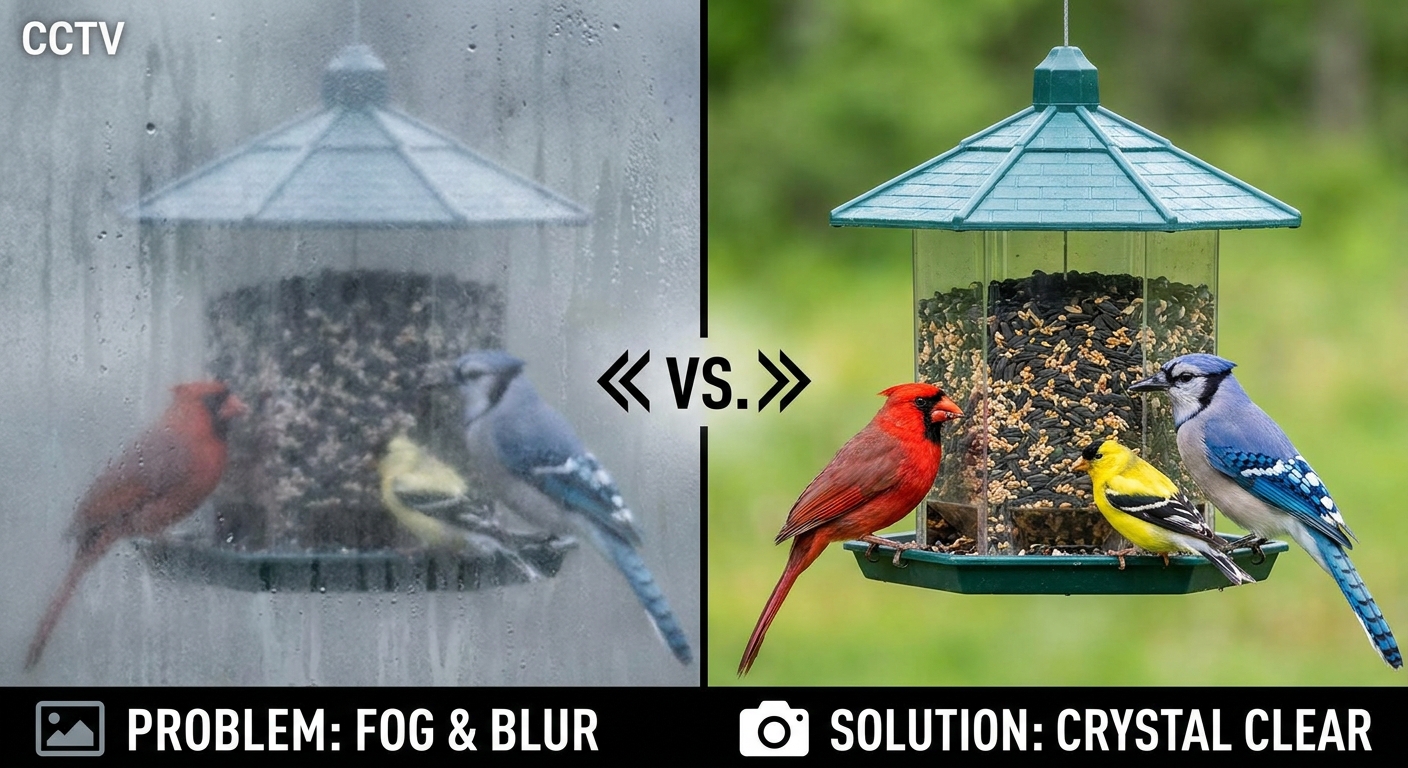
Even with careful setup, you may encounter issues that affect the clarity of your bird feeder footage. One frequent problem is blurry or foggy images, often caused by a dirty lens or condensation. To fix this, clean the lens thoroughly and check for moisture inside the housing. If condensation persists, reposition the camera to improve airflow or add a silica gel pack as a preventative measure. Another common issue is poor focus, which can result from incorrect camera distance or a shifted mounting bracket. Double-check your camera’s position and refocus as needed, especially after storms or strong winds.
Glare and overexposure are also frequent complaints, particularly when the camera faces direct sunlight or reflective surfaces. Adjust the camera angle or relocate the feeder to a shadier spot, and use the camera’s exposure settings to compensate for bright conditions. If your footage suffers from choppy playback or missing frames, this may indicate a weak WiFi signal or insufficient storage space. Move your router closer, use a WiFi extender, or upgrade your microSD card to resolve these issues. Finally, if birds seem reluctant to approach the feeder, consider repositioning the camera slightly further away or camouflaging it with natural materials to reduce its visibility.
By addressing these common problems promptly, you’ll maintain consistently sharp footage and enjoy a more rewarding birdwatching experience. Regular troubleshooting not only improves image quality but also helps you spot and resolve minor issues before they become major frustrations.
Tips for Better Results
To take your bird feeder footage to the next level, consider a few expert tips that go beyond the basics. Try varying your feeder types and positions to attract a wider range of species—robins and blackbirds prefer open trays, while blue tits and great tits are drawn to hanging feeders. Use a mix of seeds and suet to encourage longer visits, giving your camera more opportunities to capture interesting behaviour. If you’re keen to record at night, invest in a camera with high-quality infrared capabilities and position it to avoid direct reflections from the feeder surface.
For even sharper images, experiment with background elements. Placing the feeder in front of a dark, leafy backdrop can make colourful birds like goldfinches stand out beautifully. If you want to share your footage online, edit clips to highlight the best moments and add species identification notes for fellow enthusiasts. Finally, keep your camera’s firmware updated to benefit from the latest performance improvements and bug fixes. With a little creativity and ongoing care, you’ll consistently capture stunning, clear footage of your garden’s avian visitors.
Frequently Asked Questions
Why is my bird feeder camera footage blurry?
Blurry footage is often caused by a dirty lens, incorrect focus, or condensation inside the camera housing. Clean the lens regularly, check the camera’s distance from the feeder, and ensure the mounting is stable. If condensation is an issue, improve ventilation or add a silica gel pack.
How can I improve night vision footage from my bird feeder camera?
To enhance night vision, use a camera with high-quality infrared LEDs and position it to avoid reflections from the feeder. Ensure the lens is clean and free from obstructions, and check that the camera’s night mode is enabled in the settings.
What’s the best position for my bird feeder camera?
Mount the camera at bird eye-level, facing the feeder directly from a distance of 30–50cm. Avoid direct sunlight and cluttered backgrounds for the clearest, most engaging footage.
How often should I clean my bird feeder camera?
Clean the camera lens and housing at least once a week, or more frequently during pollen-heavy seasons or wet weather. Regular cleaning prevents build-up that can obscure your footage.
Can I use my bird feeder camera in the rain?
Most modern bird feeder cameras are weatherproof, but always check the manufacturer’s specifications. Ensure seals are intact and avoid placing the camera where water can pool or drip directly onto the lens.
Capturing sharp, clear footage from your bird feeder camera is a rewarding process that enhances every moment spent watching your garden’s wildlife. By preparing with the right equipment, positioning your camera carefully, optimising settings, and maintaining your setup, you’ll enjoy vibrant, detailed videos of robins, blue tits, and many more. Troubleshooting and expert tips ensure you stay ahead of common issues, so you can focus on the joy of birdwatching.