
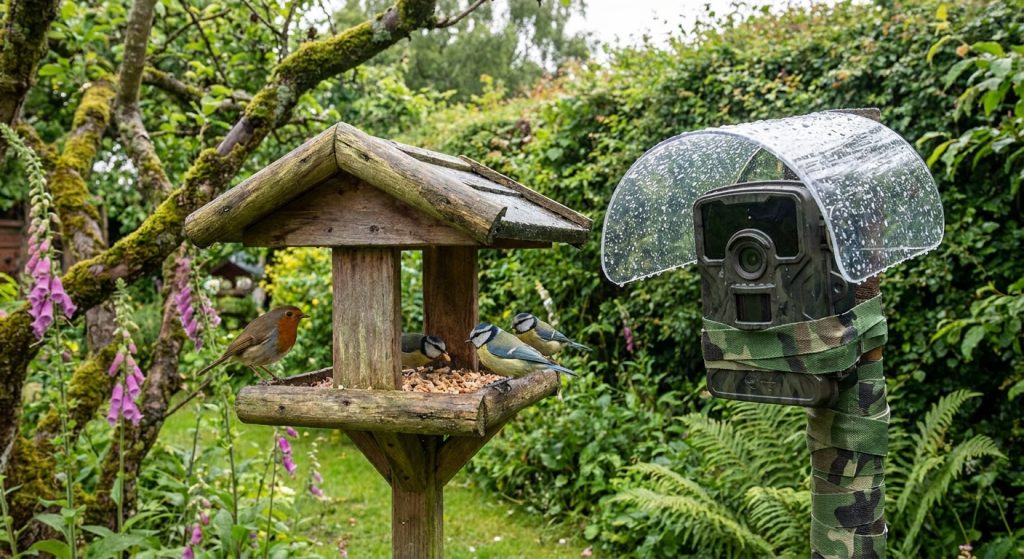
A bird feeder camera brings the hidden world of garden birds right to your screen, but British weather can quickly take its toll on sensitive equipment. Whether you’re hoping to capture robins, blue tits, or goldfinches up close, weatherproofing your bird feeder camera setup is essential for year-round reliability. This guide walks you through every step to ensure your camera stays protected, so you never miss a moment of garden bird activity.
What You Need Before You Start
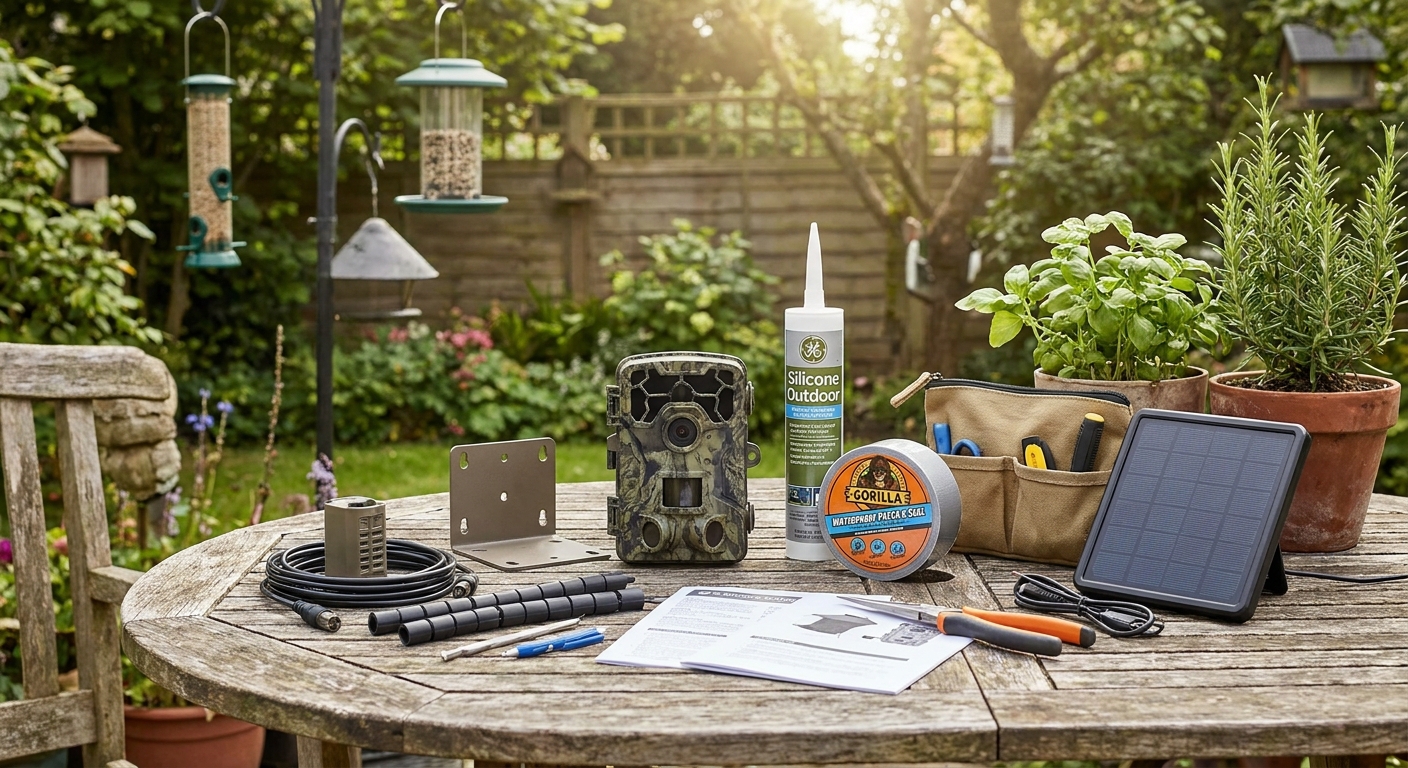
Before you begin weatherproofing your bird feeder camera, gather all the essential tools and materials. A reliable bird feeder camera is the foundation, ideally one designed for outdoor use with at least an IP65 weather resistance rating. You’ll also need a sturdy mounting bracket or pole, waterproof cable covers, silicone sealant, weatherproof tape, and a small toolkit with screwdrivers and pliers. For setups requiring power, consider an outdoor-rated extension lead or a compatible solar panel with waterproof connectors. Many birdwatchers in the UK opt for smart bird feeder cameras that offer wireless connectivity, making installation simpler and reducing the risk of water ingress through cables.
Investing in quality accessories can make a significant difference. For example, a weatherproof junction box protects power connections, while a clear acrylic rain shield or small roof extension can shield your camera lens from rain and snow. If you’re purchasing new equipment, look for products with positive reviews for durability in British conditions—such as the Green Backyard Smart Bird Feeder Camera or the Birdfy Feeder, both of which are popular among UK bird enthusiasts. Having everything ready before you start ensures a smooth installation and reduces the risk of missing a crucial step in the weatherproofing process.
Step 1 – Choose the Right Location and Mounting
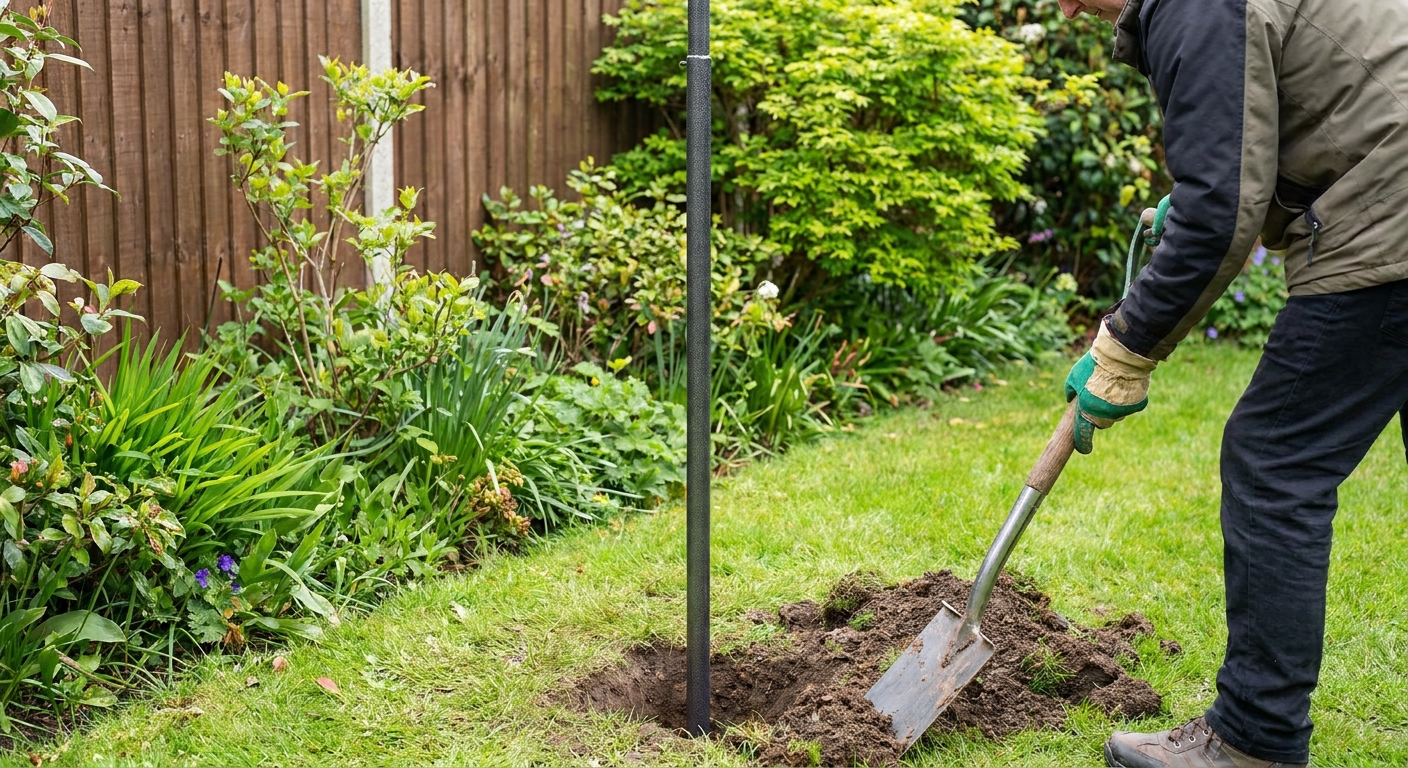
The first and most crucial step in weatherproofing your bird feeder camera is selecting the ideal location and mounting method. Position your camera where it will have a clear, unobstructed view of the feeder, but also consider exposure to wind, rain, and direct sunlight. A spot sheltered by tree branches or a garden structure can offer natural protection, reducing the impact of heavy rain and strong winds. Avoid placing the camera directly under feeders where falling seed or droppings could obscure the lens or damage the housing.
When mounting, ensure the bracket or pole is robust enough to withstand gusty weather. Use stainless steel screws and rust-resistant fittings for longevity. If your camera is wireless, keep it within range of your home Wi-Fi, and if it’s powered, plan the cable route to minimise tripping hazards and water exposure. Take time to check the angle and field of view before finalising the installation—capturing common UK species like house sparrows, starlings, and blackbirds is easier when the camera is well-positioned. Watch out for overhanging foliage that could block the lens or encourage moisture build-up, and always test the setup before proceeding to the next step.
Step 2 – Seal and Protect Cables and Connections

Once your camera is securely mounted, focus on protecting all cables and electrical connections from moisture. Even cameras with good weather resistance can fail if water seeps into power or data ports. Begin by running cables through waterproof conduit or flexible cable covers, ensuring there are no exposed sections. Where cables enter the camera or junction box, apply a generous bead of silicone sealant to block water ingress. For extra security, wrap connections with weatherproof tape, overlapping each layer to create a tight seal.
If your setup includes a solar panel, check that the connection between the panel and camera is rated for outdoor use. Many modern bird feeder cameras have proprietary waterproof connectors, but it’s wise to double-check for any gaps or loose fittings. Route cables along walls or fences where possible, securing them with cable clips to prevent movement in the wind. Take care not to overtighten, as pinched cables can crack and let in moisture over time. These steps are especially important in the UK, where persistent drizzle and sudden downpours are common. By thoroughly sealing and securing all connections, you’ll greatly reduce the risk of weather-related failures.
Step 3 – Additional Weatherproofing and Lens Protection

With the main components protected, it’s time to add extra layers of weatherproofing for long-term reliability. Fit a rain shield or small roof above the camera to deflect rain and snow away from the lens and housing. These can be purchased as accessories or made from clear acrylic or polycarbonate sheets. Ensure the shield extends far enough to protect the camera without blocking its view of the feeder. If your camera doesn’t come with a built-in sun visor, consider adding one to prevent glare and reduce condensation on the lens.
Regularly check the camera lens for dirt, water spots, or spider webs, which can degrade image quality. A soft lens cloth and a gentle cleaning solution are essential for maintenance. For added protection, apply a hydrophobic lens coating to help water bead off during heavy rain. In colder months, a small strip of anti-fog film can prevent condensation, ensuring clear footage of coal tits and great tits even on frosty mornings. These finishing touches not only extend the life of your bird feeder camera but also guarantee crisp, uninterrupted views of your favourite garden visitors.
Common Problems and Fixes
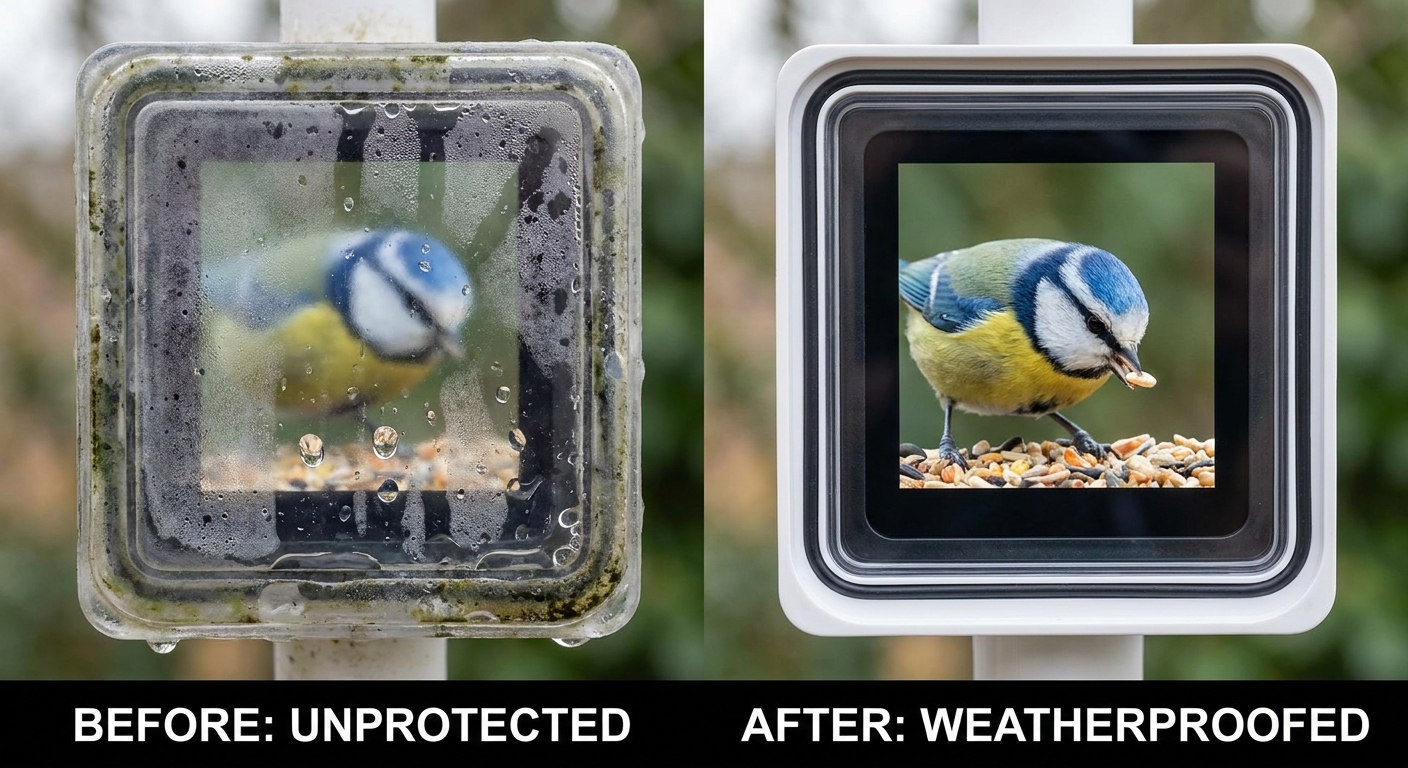
Even with careful weatherproofing, bird feeder camera setups can encounter issues, especially in the unpredictable British climate. One common problem is condensation forming inside the camera housing, which can blur images and damage electronics. To fix this, ensure all seals are intact and consider adding a small silica gel packet inside the housing to absorb moisture. If condensation persists, check for micro-cracks or gaps in the casing and reseal as needed.
Another frequent issue is intermittent connectivity, often caused by water ingress in power or data cables. Inspect all connections for signs of corrosion or dampness. Dry the affected area thoroughly, replace any damaged components, and reapply weatherproof tape or sealant. For wireless cameras, signal dropouts may occur if the camera is too far from the router or blocked by thick walls. Moving the router closer or adding a Wi-Fi extender can resolve this.
Finally, lens fogging or dirt accumulation can obscure your view of garden birds. Clean the lens regularly and check that rain shields or visors are correctly positioned. If birds or squirrels tamper with the setup, reinforce mounts and consider using animal-proof cable covers. By addressing these common challenges promptly, you’ll keep your bird feeder camera running smoothly and enjoy uninterrupted birdwatching throughout the seasons.
Tips for Better Results
To get the most from your weatherproof bird feeder camera, consider a few expert tips. Position your feeder and camera to take advantage of natural light, ideally facing north or east to avoid harsh afternoon sun that can cause glare. Regularly review your camera’s footage to spot any early signs of weathering or technical issues, allowing you to act before problems escalate. If you’re keen to attract a wider variety of birds, offer a mix of seeds and suet, and keep the feeder clean to prevent disease.
For those looking to upgrade, smart bird feeder cameras with motion detection and night vision provide excellent results, even in low light. Solar panels can keep your setup running with minimal maintenance, but always ensure they’re angled correctly for maximum efficiency. Finally, join local birdwatching groups or online forums to share tips and troubleshoot with fellow enthusiasts—many UK bird lovers are happy to offer advice on keeping your setup weatherproof and your footage crystal clear.
Frequently Asked Questions
Do I need a special camera for outdoor bird feeders?
Yes, it’s best to use a camera specifically designed for outdoor use, with a weather resistance rating such as IP65 or higher. These cameras are built to withstand rain, wind, and temperature changes common in UK gardens.
How can I stop condensation inside my bird feeder camera?
Ensure all seals are intact and add a silica gel packet inside the housing to absorb moisture. Regularly check for cracks or gaps and reseal as needed to prevent water ingress.
Will a solar panel keep my bird feeder camera running in winter?
Solar panels can work well, but their efficiency drops in low winter sunlight. Choose a panel rated for UK conditions and consider a backup battery or mains power for consistent operation during darker months.
How often should I clean the camera lens?
Check and clean the lens every week or after heavy rain to ensure clear footage. Use a soft cloth and gentle solution to avoid scratching the lens.
Can I use my existing home Wi-Fi for a wireless bird feeder camera?
In most cases, yes. Ensure the camera is within range of your router, and use a Wi-Fi extender if needed to maintain a strong, stable connection.
Weatherproofing your bird feeder camera setup is a worthwhile investment for any UK birdwatcher. With the right preparation, careful installation, and ongoing maintenance, you’ll enjoy crisp, reliable footage of robins, blue tits, and more—no matter what the British weather brings. Take the time to protect your equipment now, and you’ll be rewarded with uninterrupted views of your garden’s wild visitors for years to come.